
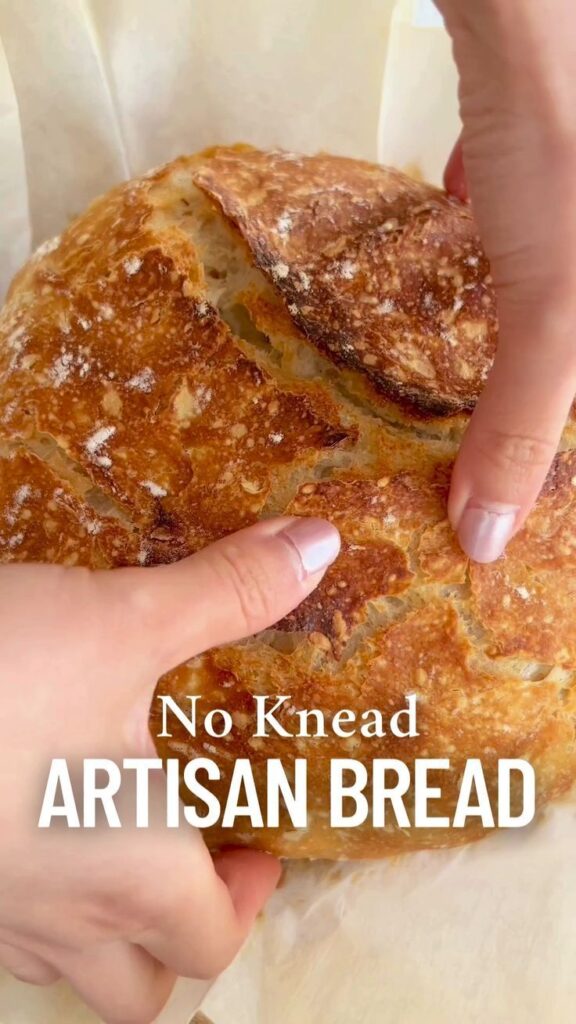
I remember the first time I pulled a steaming loaf of artisan bread from my oven. The crust crackled as it cooled, and I felt like a magician. The secret? It's simpler than you think. With just a few pantry staples and a little patience, you can create bakery-quality bread at home.
Advertisements1
This recipe is my go-to for busy weeknights and lazy weekends alike. The dough comes together in minutes, and while it rests, you can go about your day. When you're ready, pop it in the oven, and soon your kitchen will smell like heaven.
Whether you're a seasoned baker or a total beginner, this yeast artisan bread will become a staple in your kitchen. It's forgiving, delicious, and endlessly versatile. Let's get baking!
Why You'll Love This Recipe
About the Ingredients
3 1/2 cups (440g) all-purpose flour
Use bread flour for a chewier crumb, or substitute with whole wheat for a heartier loaf.
2 teaspoons (8g) instant yeast
Instant yeast dissolves quickly; if using active dry, proof it in warm water first.
2 teaspoons (10g) salt
Fine sea salt works best; table salt may be too salty, so reduce to 1 1/2 teaspoons.
1 1/2 cups (360ml) warm water (110°F/43°C)
Water that's too hot will kill the yeast; too cold will slow it down.
1 tablespoon (15ml) olive oil
Adds a touch of richness; you can skip it for a leaner loaf.
1 teaspoon (5g) sugar
Feeds the yeast and helps browning; honey or maple syrup work too.
1/4 cup (30g) cornmeal or semolina, for dusting
Prevents sticking and adds a nice crunch to the bottom; use flour if you don't have it.
Tips & Tricks
- Use a kitchen scale for accurate flour measurement – too much flour makes a dry loaf.
- Let the dough rise in a warm, draft-free spot, like an oven with the light on.
- Don't skip the resting time – it develops flavor and structure.
- Preheat your Dutch oven thoroughly – a hot pot gives a beautiful crust.
Pro Tips
Step-by-Step Instructions
1. Mix the dough
In a large bowl, whisk together flour, yeast, salt, and sugar. Add warm water and olive oil, and stir with a wooden spoon until a shaggy dough forms. It will look messy – that's fine.
2. Rest and rise
Cover the bowl with plastic wrap or a damp towel and let it rest at room temperature (about 70°F/21°C) for 2-3 hours, until the surface is dotted with bubbles and the dough has doubled in size. This slow rise develops flavor.
3. Shape the loaf
Turn the dough out onto a well-floured surface. Gently fold the edges into the center to form a round ball, being careful not to deflate it too much. Cover with a towel and let it rest for 30 minutes.
4. Preheat the oven
While the dough rests, place a covered Dutch oven (or a heavy pot with lid) in the oven and preheat to 450°F (232°C). This takes about 30 minutes – make sure it's fully hot.
5. Transfer and score
Carefully remove the hot pot from the oven. Dust the dough with cornmeal or flour, then place it into the pot seam-side up. Use a sharp knife to make a shallow slash or cross on top – this helps it expand.
6. Bake covered
Cover the pot and bake for 25 minutes. The steam trapped inside creates a crispy crust. After 25 minutes, the loaf should be golden and risen.
7. Bake uncovered
Remove the lid and continue baking for 10-15 minutes more, until the crust is deep golden brown and the internal temperature reaches 200-210°F (93-99°C). If it browns too quickly, lower the oven to 425°F (218°C).
8. Cool completely
Transfer the bread to a wire rack and let it cool completely before slicing. This step is crucial – cutting too early will make the crumb gummy.
Delicious Variations
- Add 1 cup of shredded cheese and 1 teaspoon of garlic powder to the dough for a savory twist.
- Mix in 1/2 cup of dried rosemary and 1/4 cup of chopped olives for a Mediterranean flavor.
- For a sweeter loaf, add 1/4 cup of raisins and a sprinkle of cinnamon to the dry ingredients.
How to Store Yeast Artisan Bread
Refrigerator
Store in an airtight container or bread bag at room temperature for up to 3 days. For longer storage, wrap tightly and refrigerate for up to a week.
Freezer
Slice and freeze in a zip-top bag for up to 3 months. Thaw at room temperature or toast directly from frozen.
Reheating
Revive a stale loaf by warming it in a 350°F (175°C) oven for 5-10 minutes. This brings back the crust's crunch.
Frequently Asked Questions
Q: Why didn't my bread rise?
Your yeast might be expired, or the water was too hot (above 120°F/49°C) and killed it. Always check the expiration date and use a thermometer for the water.
Q: Can I make this bread without a Dutch oven?
Yes, you can bake it on a baking sheet or pizza stone. Place a pan of hot water on the lower rack to create steam, and bake at 450°F (232°C) for 30-35 minutes.
Q: Why is my bread dough so sticky?
This is a high-hydration dough, so it's supposed to be sticky. Resist adding too much flour – use wet hands or a bench scraper to handle it.
Q: Can I use whole wheat flour instead of all-purpose?
Yes, but the bread will be denser. Start with 50% whole wheat and 50% all-purpose, and add an extra 2 tablespoons of water.
Q: How do I know when the bread is done?
The crust should be deep golden brown and sound hollow when tapped on the bottom. An instant-read thermometer inserted into the center should read 200-210°F (93-99°C).
Ready to bake your first artisan loaf? Give this recipe a try and let me know how it turns out in the comments below. And if you're feeling adventurous, try one of the variations – I'd love to hear your favorite!
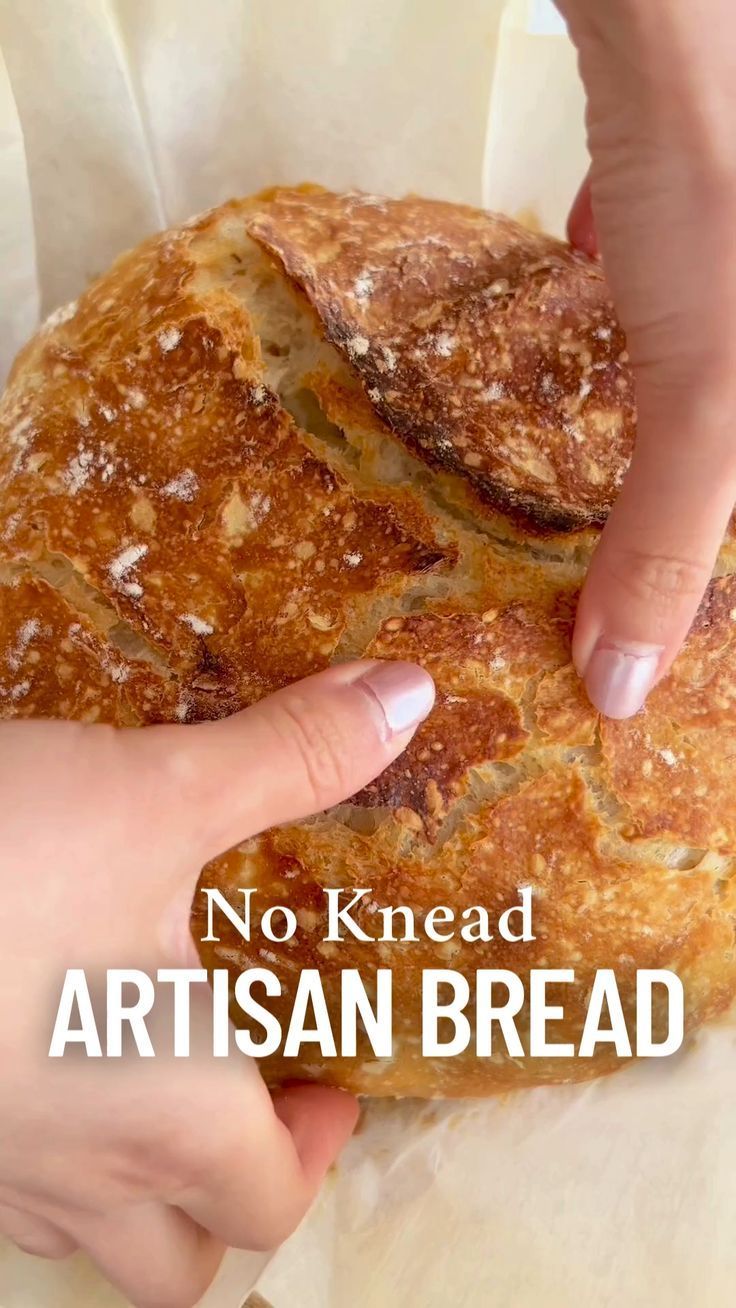
Yeast Artisan Bread
Easy Yeast Artisan Bread: crusty, chewy, and perfect for beginners. Bake a golden loaf with minimal effort and wow your family.
🧂 Ingredients
- 3 1/2 cups (440g) all-purpose flour
- 2 teaspoons (8g) instant yeast
- 2 teaspoons (10g) salt
- 1 1/2 cups (360ml) warm water (110°F/43°C)
- 1 tablespoon (15ml) olive oil
- 1 teaspoon (5g) sugar
- 1/4 cup (30g) cornmeal or semolina, for dusting
📋 Instructions
- 1Mix the dough — In a large bowl, whisk together flour, yeast, salt, and sugar. Add warm water and olive oil, and stir with a wooden spoon until a shaggy dough forms. It will look messy – that's fine.
- 2Rest and rise — Cover the bowl with plastic wrap or a damp towel and let it rest at room temperature (about 70°F/21°C) for 2-3 hours, until the surface is dotted with bubbles and the dough has doubled in size. This slow rise develops flavor.
- 3Shape the loaf — Turn the dough out onto a well-floured surface. Gently fold the edges into the center to form a round ball, being careful not to deflate it too much. Cover with a towel and let it rest for 30 minutes.
- 4Preheat the oven — While the dough rests, place a covered Dutch oven (or a heavy pot with lid) in the oven and preheat to 450°F (232°C). This takes about 30 minutes – make sure it's fully hot.
- 5Transfer and score — Carefully remove the hot pot from the oven. Dust the dough with cornmeal or flour, then place it into the pot seam-side up. Use a sharp knife to make a shallow slash or cross on top – this helps it expand.
- 6Bake covered — Cover the pot and bake for 25 minutes. The steam trapped inside creates a crispy crust. After 25 minutes, the loaf should be golden and risen.
- 7Bake uncovered — Remove the lid and continue baking for 10-15 minutes more, until the crust is deep golden brown and the internal temperature reaches 200-210°F (93-99°C). If it browns too quickly, lower the oven to 425°F (218°C).
- 8Cool completely — Transfer the bread to a wire rack and let it cool completely before slicing. This step is crucial – cutting too early will make the crumb gummy.

Maya writes about sustainable living and practical zero-waste swaps for everyday families. She focuses on small, doable changes that fit busy schedules and tight budgets. Her angle is making eco-friendly choices feel less like a chore and more like a win.