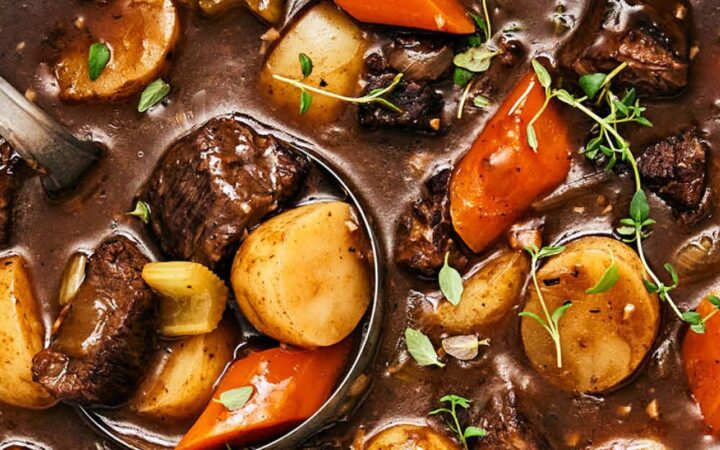
I call these Pinterest Image Cookies because the first time I made them, my sister said they looked like something straight off a pinboard – glossy jam swirls, golden edges, and a dusting of sugar that catches the light. They taste even better than they look, which is saying something.
Advertisements1
Here is the honest truth: I am not a pastry chef. I am a mom who bakes on Sunday afternoons while the laundry runs and somebody yells about homework. These cookies fit that life. One bowl, one pan, no chilling, no piping bag.
You press the dough into the pan, dot it with jam, and let the oven do the rest. The swirls happen naturally as the jam bubbles and spreads, so every square looks a little different – and a little impressive. Here's to small steps that add up.
Why You'll Love This Recipe
About the Ingredients
1 cup (227g) unsalted butter, softened
Use real butter, not margarine – the flavor and structure depend on it. If you only have salted butter, cut the added salt to 1/8 teaspoon.
3/4 cup (150g) granulated sugar
Standard white sugar keeps the dough pale and lets the jam color shine. Coconut sugar works but will darken the cookies noticeably.
1 large egg, room temperature
A room-temperature egg blends smoothly and prevents the batter from curdling. Submerge a cold egg in warm water for 5 minutes if you forgot to set it out.
2 teaspoons vanilla extract
Pure vanilla, not imitation, makes a real difference in a simple dough like this. Almond extract swapped for half the vanilla adds a lovely bakery note.
2 1/4 cups (270g) all-purpose flour
Spoon the flour into the measuring cup and level it off – scooping packs it down and makes dry, crumbly cookies. A 1-to-1 gluten-free blend works as a direct swap.
1/2 teaspoon baking powder
This gives just a touch of lift so the squares stay tender instead of dense. Check the date – baking powder loses power after about a year.
1/4 teaspoon fine sea salt
Salt balances the sweetness and makes the jam pop. Kosher salt works, but use a slightly heaped 1/4 teaspoon since the crystals are bigger.
3/4 cup (240g) seedless raspberry jam
Seedless keeps the swirls smooth and pretty. Apricot, blackberry, or cherry jam all work – just pick one that is thick, not runny.
2 tablespoons turbinado sugar, for sprinkling
The coarse crystals add crunch and sparkle. Demerara sugar or even a light dusting of powdered sugar after cooling works in a pinch.
Tips & Tricks
Do not overmix the flour
Stop the moment the last streaks of flour disappear. Overmixing develops gluten and turns tender shortbread into tough cardboard.
Measure your jam by weight
Too much jam and the center stays wet and gooey. 240g is the sweet spot – a little less is better than a little more.
Cool completely before slicing
Warm cookies crumble at the edges. Give them a full 45 minutes in the pan – I know it is hard.
Watch the edges, not the center
The cookies are done when the edges are golden and the center looks just barely set. It firms up as it cools.
Pro Tips
Step-by-Step Instructions
1. Heat the oven
Preheat the oven to 350F (175C). Line an 8×8-inch metal baking pan with parchment, leaving overhang on two sides for easy lifting later.
2. Cream butter and sugar
Beat the softened butter and granulated sugar on medium speed for 2 minutes, until pale and fluffy. The mixture should look like light frosting, not gritty paste.
3. Add egg and vanilla
Beat in the egg and vanilla until fully incorporated, about 30 seconds. Scrape down the bowl so nothing hides at the bottom.
4. Fold in dry ingredients
Whisk the flour, baking powder, and salt together in a separate bowl, then add to the wet mixture on low speed. Stop as soon as the flour disappears.
5. Press into the pan
Transfer the dough to the prepared pan and press it into an even layer with lightly floured fingers or the back of a measuring cup. Smooth the top.
6. Swirl the jam
Dollop the jam over the dough in small spoonfuls, then drag a butter knife through it in two loose figure-eight passes. Do not over-swirl – you want ribbons, not pink mush.
7. Bake until golden
Bake at 350F (175C) for 32 to 35 minutes, until the edges are golden brown and the jam bubbles at the corners. The center should look set but slightly soft.
8. Cool and slice
Sprinkle turbinado sugar over the hot cookies, then cool completely in the pan, about 45 minutes. Lift out by the parchment and cut into 16 squares with a sharp knife.
Delicious Variations
Lemon Blueberry
Swap the raspberry jam for blueberry preserves and add 1 teaspoon lemon zest to the dough.
Chocolate Cherry
Use cherry jam and stir 1/3 cup mini chocolate chips into the dough before pressing.
Almond Apricot
Replace half the vanilla with almond extract and use apricot jam, then scatter sliced almonds on top before baking.
How to Store Pinterest Image
Refrigerator
Store in an airtight container at room temperature for up to 4 days, or refrigerate for up to 1 week. Bring to room temperature before serving for the best texture.
Freezer
Wrap the whole cooled slab or individual squares tightly in plastic wrap, then foil, and freeze for up to 3 months. Thaw at room temperature for 1 hour.
Reheating
Warm single squares in the microwave for 10 to 15 seconds, or in a 300F (150C) oven for 5 minutes. Do not overheat or the jam turns lava-hot.
Frequently Asked Questions
Q: Can I use a different size pan for these jam cookies?
Yes, but the bake time changes. A 9×9 pan gives thinner cookies, so start checking at 26 minutes, while a 9×13 pan makes very thin bars that bake in about 20 minutes. Stick with 8×8 for the thickest, softest squares.
Q: Why is my jam sinking to the bottom?
Your jam is likely too thin or you used too much of it. Use a thick preserve and stick to 3/4 cup, and spoon it on top rather than stirring it deep into the dough. A quick 15-minute chill of the pressed dough before adding jam also helps.
Q: Can I make these cookies gluten-free?
Yes, a 1-to-1 gluten-free all-purpose blend swaps directly for the regular flour with no other changes. The texture is slightly more tender, so let them cool completely before slicing to avoid crumbling.
Q: How do I know when the cookies are fully baked?
The edges should be golden brown and the jam should bubble gently at the corners, about 32 to 35 minutes at 350F (175C). The center will look slightly underdone but firms up as it cools – that is exactly what you want.
Q: Can I double this recipe for a crowd?
Yes, double everything and bake in a 9×13 pan, adding 5 to 8 minutes to the bake time. Keep an eye on it starting at 35 minutes, since a larger pan bakes less evenly around the edges.
If you make these Pinterest Image Cookies, I would love to see your swirls – tag me in your photos and tell me which jam you chose. Save this recipe for your next bake sale, teacher gift, or cozy Sunday, and share it with the friend who always brings dessert. Here's to small steps that add up.
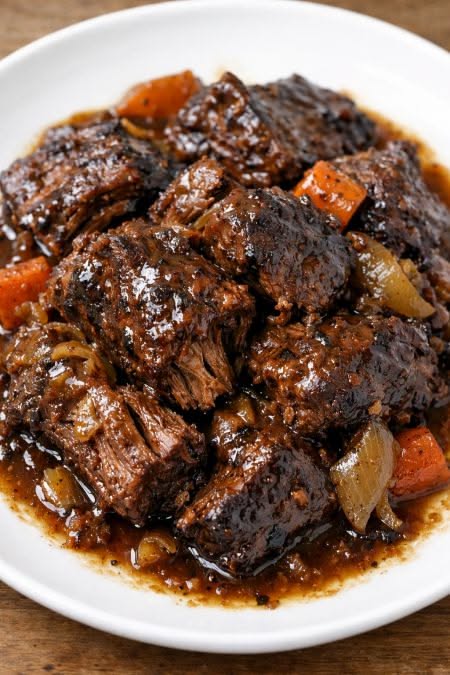
Pinterest Image
Pinterest Image Cookies are buttery, jam-swirled shortbread squares that look stunning and taste even better, ready in under an hour.
🧂 Ingredients
- 1 cup (227g) unsalted butter, softened
- 3/4 cup (150g) granulated sugar
- 1 large egg, room temperature
- 2 teaspoons vanilla extract
- 2 1/4 cups (270g) all-purpose flour
- 1/2 teaspoon baking powder
- 1/4 teaspoon fine sea salt
- 3/4 cup (240g) seedless raspberry jam
- 2 tablespoons turbinado sugar, for sprinkling
📋 Instructions
- 1Heat the oven — Preheat the oven to 350F (175C). Line an 8×8-inch metal baking pan with parchment, leaving overhang on two sides for easy lifting later.
- 2Cream butter and sugar — Beat the softened butter and granulated sugar on medium speed for 2 minutes, until pale and fluffy. The mixture should look like light frosting, not gritty paste.
- 3Add egg and vanilla — Beat in the egg and vanilla until fully incorporated, about 30 seconds. Scrape down the bowl so nothing hides at the bottom.
- 4Fold in dry ingredients — Whisk the flour, baking powder, and salt together in a separate bowl, then add to the wet mixture on low speed. Stop as soon as the flour disappears.
- 5Press into the pan — Transfer the dough to the prepared pan and press it into an even layer with lightly floured fingers or the back of a measuring cup. Smooth the top.
- 6Swirl the jam — Dollop the jam over the dough in small spoonfuls, then drag a butter knife through it in two loose figure-eight passes. Do not over-swirl – you want ribbons, not pink mush.
- 7Bake until golden — Bake at 350F (175C) for 32 to 35 minutes, until the edges are golden brown and the jam bubbles at the corners. The center should look set but slightly soft.
- 8Cool and slice — Sprinkle turbinado sugar over the hot cookies, then cool completely in the pan, about 45 minutes. Lift out by the parchment and cut into 16 squares with a sharp knife.

Maya writes about sustainable living and practical zero-waste swaps for everyday families. She focuses on small, doable changes that fit busy schedules and tight budgets. Her angle is making eco-friendly choices feel less like a chore and more like a win.