
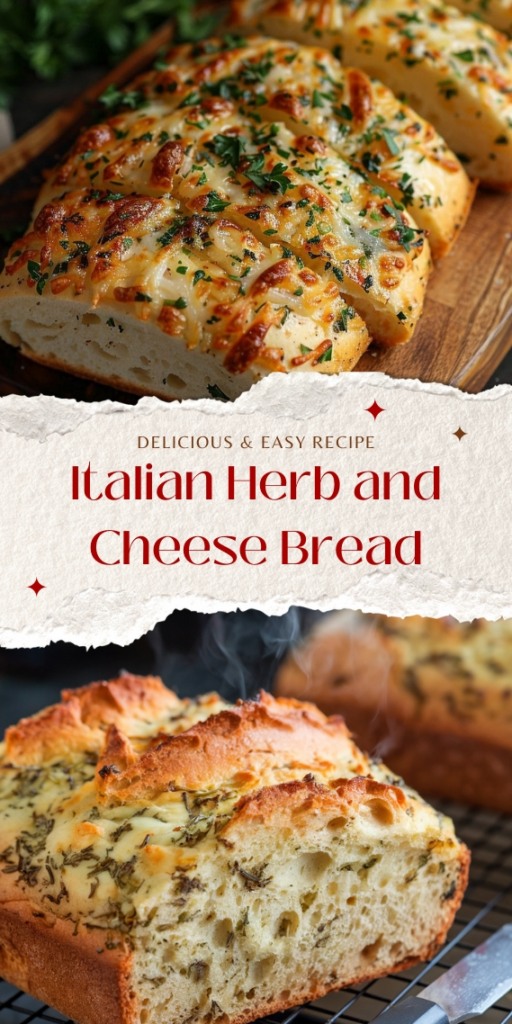
There's something magical about the smell of fresh bread filling your kitchen. I remember the first time I made this Easy Bread—it was a rainy Sunday, and I needed something comforting. This recipe became my go-to because it requires no complicated techniques, just a few pantry staples and a little patience.
Advertisements1
What I love most is how forgiving it is. You don't need a stand mixer or a baking stone. Just a bowl, a spoon, and an oven. The result is a rustic loaf with a crisp crust and a tender, airy interior that's perfect for sandwiches, toast, or simply slathered with butter.
Whether you're a seasoned baker or a complete beginner, this bread will make you feel like a pro. So let's take a deep breath, roll up our sleeves, and bake something beautiful together.
Why You'll Love This Recipe
About the Ingredients
4 cups (500g) all-purpose flour, plus extra for dusting
All-purpose flour gives the perfect structure. You can substitute up to 1 cup with whole wheat for a heartier loaf.
2 teaspoons (10g) salt
Salt enhances flavor and controls yeast activity. Use fine sea salt for even distribution.
2 teaspoons (8g) instant yeast (or 2 1/4 tsp active dry yeast)
Instant yeast doesn't need proofing. If using active dry, dissolve in warm water first.
1 1/2 cups (360ml) warm water (about 110°F/43°C)
The water should feel like a warm bath. Too hot kills yeast, too cold slows it down.
1 tablespoon (15ml) olive oil, plus more for brushing
Olive oil adds richness and helps the crust brown. Any neutral oil works too.
1 tablespoon (15g) honey or sugar
A touch of sweetness feeds the yeast and adds a subtle flavor. Maple syrup also works.
Tips & Tricks
- Use a kitchen scale for accuracy – it's the secret to consistent results.
- If your kitchen is cool, let the dough rise in a slightly warm oven (turned off) with the light on.
- For a crisper crust, place a shallow pan of water on the bottom oven rack during baking.
- Don't skip the resting time – it allows the gluten to relax and the flavors to develop.
Pro Tips
Step-by-Step Instructions
1. Mix the Dough
In a large bowl, whisk together flour, salt, and yeast. Add warm water, olive oil, and honey. Stir with a wooden spoon until a shaggy dough forms. The dough will be sticky – that's okay.
2. Let It Rise
Cover the bowl with plastic wrap or a damp towel. Let it rise in a warm spot for 1 to 1.5 hours, until doubled in size and bubbly. The dough should look airy and have a yeasty aroma.
3. Shape the Loaf
Turn the dough onto a lightly floured surface. Sprinkle with a little flour. Use a bench scraper to fold the dough over itself a few times, then shape into a round or oval loaf. Place it on a parchment-lined baking sheet.
4. Second Rise
Cover loosely with a towel and let it rise for 30-45 minutes, until puffy. Meanwhile, preheat the oven to 425°F (220°C). Place a shallow pan of water on the bottom rack to create steam.
5. Score and Brush
Just before baking, use a sharp knife to score the top with a few slashes. Brush the top with olive oil or water. This helps the bread expand and creates a beautiful crust.
6. Bake to Golden
Bake for 25-30 minutes, until the crust is deep golden brown and the loaf sounds hollow when tapped. For accuracy, check the internal temperature: it should be 190-200°F (88-93°C).
7. Cool and Enjoy
Transfer the bread to a wire rack and let it cool completely before slicing. This allows the crumb to set – resist the temptation to cut into it while hot!
Delicious Variations
- Add 1 cup of grated cheese and 1 teaspoon of dried herbs to the dough for a savory twist.
- Swap 1 cup of all-purpose flour for whole wheat and add 2 tablespoons of seeds (sunflower, flax) for a nutty loaf.
- For a slightly sweet version, add 1/2 cup of raisins and a teaspoon of cinnamon.
How to Store Easy Bread
Refrigerator
Store in an airtight container or wrapped in plastic at room temperature for up to 3 days. For longer storage, keep in the fridge for up to a week.
Freezer
Wrap the cooled loaf tightly in plastic wrap and foil, then freeze for up to 3 months. Thaw at room temperature before serving.
Reheating
To refresh, heat in a 350°F (175°C) oven for 5-10 minutes until warm and crusty.
Frequently Asked Questions
Q: Why is my bread dense and heavy?
A dense loaf usually means the dough wasn't risen enough or the yeast was old. Make sure your yeast is fresh and give it enough time to double. Also, don't overwork the dough when shaping.
Q: Can I use active dry yeast instead of instant?
Yes, but you need to proof it first. Dissolve active dry yeast in warm water (110°F/43°C) with a pinch of sugar and let it sit for 5-10 minutes until foamy before adding to the flour.
Q: How do I know when the bread is done?
The bread should be deep golden brown and sound hollow when tapped on the bottom. For certainty, use an instant-read thermometer – the internal temperature should be 190-200°F (88-93°C).
Q: Can I make this bread without a stand mixer?
Absolutely! This recipe is designed for hand mixing. You only need a bowl and a wooden spoon – no mixer required.
Q: Why did my bread not rise?
The most common reasons are expired yeast, water that was too hot (killing the yeast), or a cold kitchen. Check your yeast's expiration date and ensure the water is around 110°F (43°C).
I hope this Easy Bread brings you the same warmth and comfort it brings me. Give it a try, and don't forget to pause and breathe in that amazing aroma – it's a moment of pure joy. Be kind to your mind.
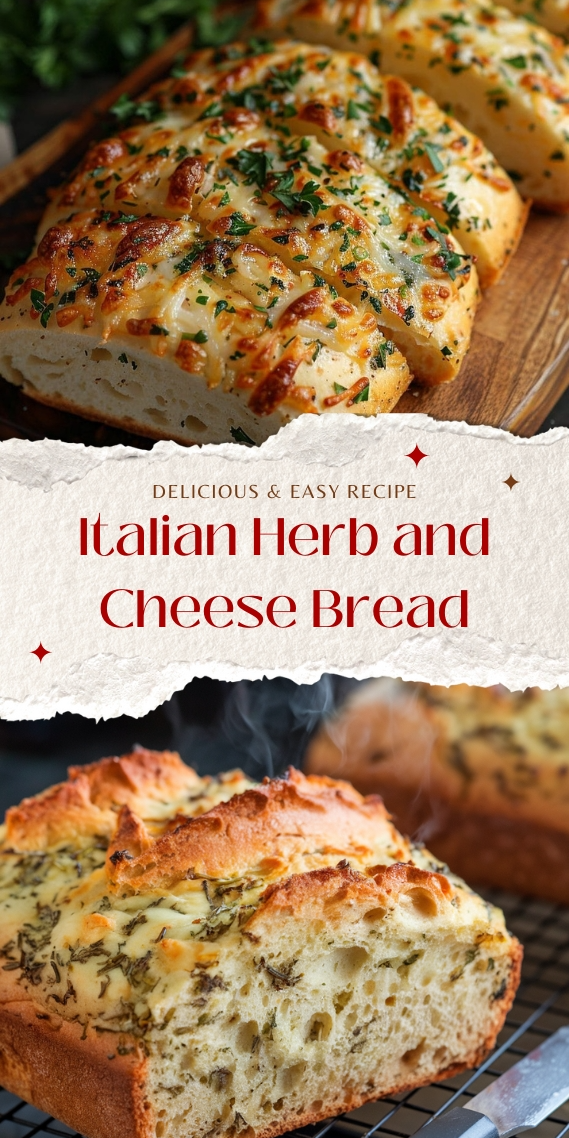
Easy Bread
Easy Bread is a simple, no-knead loaf that delivers a soft crumb and golden crust with just 15 minutes of prep.
🧂 Ingredients
- 4 cups (500g) all-purpose flour, plus extra for dusting
- 2 teaspoons (10g) salt
- 2 teaspoons (8g) instant yeast (or 2 1/4 tsp active dry yeast)
- 1 1/2 cups (360ml) warm water (about 110°F/43°C)
- 1 tablespoon (15ml) olive oil, plus more for brushing
- 1 tablespoon (15g) honey or sugar
📋 Instructions
- 1Mix the Dough — In a large bowl, whisk together flour, salt, and yeast. Add warm water, olive oil, and honey. Stir with a wooden spoon until a shaggy dough forms. The dough will be sticky – that's okay.
- 2Let It Rise — Cover the bowl with plastic wrap or a damp towel. Let it rise in a warm spot for 1 to 1.5 hours, until doubled in size and bubbly. The dough should look airy and have a yeasty aroma.
- 3Shape the Loaf — Turn the dough onto a lightly floured surface. Sprinkle with a little flour. Use a bench scraper to fold the dough over itself a few times, then shape into a round or oval loaf. Place it on a parchment-lined baking sheet.
- 4Second Rise — Cover loosely with a towel and let it rise for 30-45 minutes, until puffy. Meanwhile, preheat the oven to 425°F (220°C). Place a shallow pan of water on the bottom rack to create steam.
- 5Score and Brush — Just before baking, use a sharp knife to score the top with a few slashes. Brush the top with olive oil or water. This helps the bread expand and creates a beautiful crust.
- 6Bake to Golden — Bake for 25-30 minutes, until the crust is deep golden brown and the loaf sounds hollow when tapped. For accuracy, check the internal temperature: it should be 190-200°F (88-93°C).
- 7Cool and Enjoy — Transfer the bread to a wire rack and let it cool completely before slicing. This allows the crumb to set – resist the temptation to cut into it while hot!

Elena writes about mental health and self-care, emphasizing gentle, evidence-informed strategies for managing stress and anxiety. She shares personal reflections and practical exercises that readers can try at their own pace.